Have you ever finished cleaning a room, looked around proudly…and then noticed crumbs on the floor you just vacuumed?
Or cleaned a bathroom mirror only to spray something nearby and leave spots all over it again?
Sometimes cleaning takes longer than it should for one simple reason:
We’re doing things in the wrong order.
Professional cleaners don’t just know what to clean. Having an efficient order for completing the work can help prevent you from cleaning the same area twice.
If you’d like to make your own cleaning routine a little faster, here’s a simple way to think about it.
Step 1: Pick Up Before You Start Cleaning
Before reaching for a spray bottle, give yourself a clear workspace.
Pick up things like:
- Clothing
- Toys
- Shoes
- Papers
- Cups and dishes
- Items that belong in another room
You’re not actually cleaning yet.
You’re simply removing the obstacles that would otherwise slow you down.
Trying to dust around 14 things on a dresser is much more frustrating than clearing the surface first.
Step 2: Start High
Gravity is undefeated.
Dust from a ceiling fan doesn’t magically float upward.
It falls onto everything underneath it.
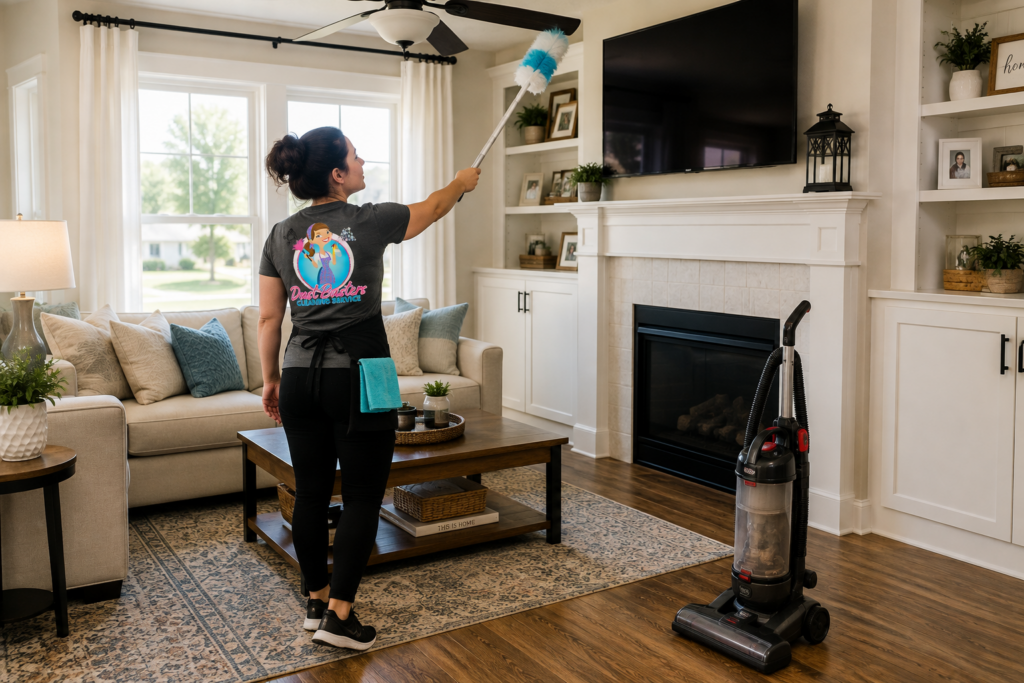
That’s why it usually makes sense to start with higher areas before working your way down.
Depending on the room, that might include:
- Ceiling fans
- High shelves
- Light fixtures
- Tops of furniture
- Window trim
If a little dust falls while you’re working, that’s okay.
You haven’t cleaned the lower surfaces yet.
Step 3: Work From Top to Bottom
Once the highest areas are handled, continue moving downward.
Dust furniture.
Wipe shelves.
Clean tables.
Wipe baseboards when needed.
Think of the dirt as moving toward the floor, where you’ll eventually remove it.
Cleaning the floor first and then dusting everything above it can mean cleaning the floor twice.
Nobody has time for that.
Step 4: Give Cleaning Products Time to Work
This is one of the easiest professional-cleaning habits to borrow.
If you’re cleaning an area with buildup, apply the appropriate product and give it the amount of contact or dwell time directed on its label.
Don’t immediately spray and start scrubbing simply out of habit.
While the product is doing its job, move on to another task.
For example, you might apply the appropriate bathroom product and then clean the mirror while you wait.
You’re letting the product work while you’re still being productive.
Step 5: Don’t Bounce Around the Room
We’ve all done this.
You start cleaning the coffee table.
Then notice the TV stand.
Then walk across the room to put something away.
Then notice fingerprints on the door.
Twenty minutes later, you’ve touched six different areas and completed none of them.
Instead, try working your way around the room in a consistent direction.
Start at one point and continue around the room until you return to where you began.
It can help prevent missed areas and unnecessary back-and-forth walking.
Step 6: Save the Floors for Near the End
By now, you’ve probably knocked dust, crumbs, hair, and other debris onto the floor.
Perfect.
That’s exactly where you want it.
Now you can remove it all at once.
Vacuum or sweep thoroughly, paying extra attention to:
- Corners
- Along baseboards
- Under accessible furniture
- High-traffic areas
If you’re cleaning hard floors, mopping generally comes after loose debris has been removed.
Step 7: Work Your Way Out
Here’s another simple trick.
When mopping, start at the farthest point in the room and work toward the exit.
Otherwise, you may find yourself standing in the middle of a freshly mopped floor wondering how you’re going to escape.
We’ve all made questionable cleaning decisions. 😂
Working toward the doorway helps you avoid walking over the floor you just cleaned.
What About Bathrooms?
Bathrooms follow many of the same principles, but you can make the process even easier by being strategic.
A simple approach is:
- Remove clutter and used towels.
- Dust higher areas.
- Apply appropriate products where needed.
- Clean mirrors.
- Clean sinks and counters.
- Clean the shower or tub.
- Clean the toilet.
- Vacuum or sweep.
- Mop your way out.
The exact routine can vary depending on your bathroom and the products you’re using.
The important part is avoiding unnecessary rework.
What About the Kitchen?
Kitchens can be tricky because there are so many surfaces.
Start by putting away food and dishes and clearing the counters as much as possible.
Then work from higher areas down toward the floor.
Appliance exteriors, countertops, sinks, cabinet fronts when needed, and other surfaces can be tackled before the final floor cleaning.
And yes, the floor is still last.
That poor floor catches everything.
Why Professional Cleaners Use Systems
Professional cleaners aren’t simply trying to move fast.
They’re trying to avoid wasted movement.
Cleaning hundreds of homes teaches you pretty quickly that walking back and forth across a room or repeatedly cleaning the same surface wastes a surprising amount of time.
A good system creates consistency.
You know where to start.
You know where you’re going next.
And you know when you’re finished.
Your Cleaning Routine Doesn’t Need to Be Complicated
You don’t need an elaborate chart or a 47-step cleaning routine.
Just remember a few basic ideas:
Declutter first.
Start high.
Work down.
Move systematically.
Do the floors near the end.
Those few habits alone can make cleaning feel much more manageable.
Clean Smarter, Not Longer
At Dust Busters Cleaning Service, efficiency matters because we want to spend our time actually cleaning—not wandering around wondering what to do next.
Having a consistent system helps professional cleaners deliver thorough results while moving through a home efficiently.
And you can borrow the same idea at home.
Because if you’re going to spend your Saturday cleaning, you might as well avoid cleaning the same floor twice.
Better yet?
Let us clean it, and you can keep your Saturday. 😉